DIY Colorful Pumpkins

Fall…seems like it’s most people’s favorite time of year. I enjoy decorating for all the holidays but it’s not a secret I don’t really like the browns, tans, oranges that are the popular fall colors. I prefer bright and fun colors! There is NO reason that those colors can’t be on all my Halloween and fall decor!

It is hard to find colorful pumpkins so I decided to make my own. It was cheap and simple. I bought pumpkins at the dollar store and the acrylic paint I already had. I didn’t want them ALL the same so I got a few different sizes and shapes for the pumpkins.

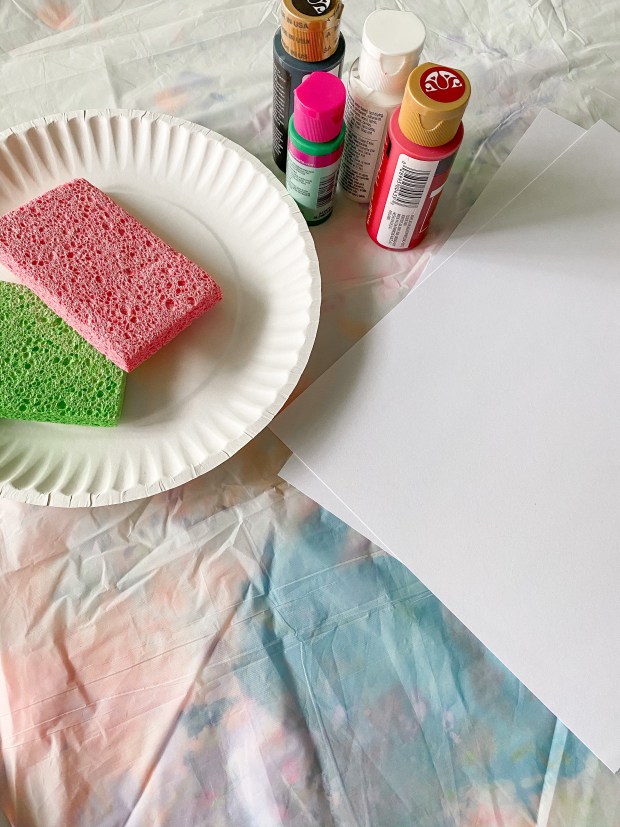
There is two steps for the pumpkins. To start you want to wipe down your pumpkins with rubbing alcohol to get any stuff off. This helps the paint go on better. Trust me. I lay down a large plastic table cloth from the dollar store that I can use a few times for crafts then throw away.

For painting the pumpkins I found that acrylic paint works best. I did it with another paint first on a couple and they didn’t turn out as well. You will need to paint two coats on the pumpkins. That’s it! That’s all you do! Wipe with alcohol then paint! So simple.

You could use any colors you wanted – even if you didn’t want brighter colors. I am going to do larger pumpkins this year! Do you like fall colors or do you prefer brighter?

Fruit Art

Our theme for the week is FRUIT! We have made a couple fun crafts. This one is simple and a BIG language activity. Did you know I am a Speech Language Pathologist too?! I like to look for activities that use a lot of different language and let Millie explore everyday objects.

This activity is Stamping sponges on paper to make watermelons and strawberries. I bought the sponges at the Dollar store. It is a great place to find a lot of fun project items for super cheap.

For this project you will need::

Sponges- you cut out a triangle and a strawberry shape

Paint- red, black, green

Paper or Cardstock

Paper plate- to put the paint on

What you need
Cut the sponges into a triangle and a strawberry shape
These are my shapes!

Place the sponge in the paint and place on the paper. Millie put a lot of strawberries on her paper! She was loving the stamping. After take green paint and finger print the stems for the strawberries. While we do the fingerprinting we count how many we are doing. After take your pinky and do black dots on the strawberries for the seeds! We talk about how the paint feels cool and squishy, the sponge is soft, and we use a lot of counting. Counting the strawberries, counting when we make all of the dots, etc. We also talk about colors and tried to think of other things that were red! This is a bit challenging for a two year old, but older kids would do much better! We talked about how strawberries are FRUIT and the letter of the week is F. You can talk about SO much with this activity.

We did the same thing with the watermelon. Sponge in paint, on paper, then we used our finger to finger paint the rind of the watermelon and then dots again for the seeds. With the watermelon we discussed shapes! How the water melon is round to start then this was cut into triangles. Once again we counted the black dots while we were dotting and then counted how many watermelon slices we made! We talked about how the fruit tastes too! Cold, wet, sweet, slimy, etc.

In the paint
On the paper
5 red watermelons

Looking for ways to use as much language as possible is an amazing way to teach your child more. Talking about shapes, textures, temperatures, colors, numbers, etc is great for their little brains to take in!

Make sure to Pin this to your Pinterest page for later! What is your favorite fruit?!

Pin me
Pin me

Nature Walk and Art Activity

Anyone else taking 100 walks a week?! We are!! Millie always loves to bring her blue bucket and collect all the things! I decided to do an art project with some of the things we collect on our walks. This week our theme is BIRDS so I decided to add that to our craft too!

We take walks around the neighborhood and two or three days a week we go someplace fun like the lake or another area. On our walks we always collect leaves, flowers, rocks, sticks, and more! Millie always wants to bring them inside, but I never let her…worst mom ever…I know. This time I let her. Yay!

The art project is super easy. What you will need: card stock, brown construction paper, glue stick/glue, and the items we found on our walk! Since our theme was birds I printed off bird pictures off the internet to cut out and put in our trees.

If you have littles they will need a bit more help, but older kids can do most of this by themselves. I cut out the tree and had Millie use the glue stick to glue it on the paper. After we used regular glue to glue the leaves on the tree, as well as the bird. We added grass to the bottom with crayon. Super simple and cute. Two activities in one. If you can’t go on a nature walk you can always find things in your yard too! You could add other animals too- like squirrels!

I free hand cut the tree
Working on those fine motor skills
Picking out the best ones
Looking good!
Millie told me she wanted a purple bird so that is what she got!
Finished product

Millie Monet

Millie is going to be the next great artist! Well maybe not, but we had fun doing this activity!  It is a great sensory activity to do with babies.  They can see the colors, feel the paint moving, and bang their little hands all over. It is SUPER easy- mess free- and you get a cute piece of art.

Materials:

  • Paint (a few different colors)
  • Paper
  • Ziplock
  • Tape (optional)

Paint1

Squeeze blobs of paint on the paper inside of the ziplock bag and seal.  I choose to use cute Duck Tape to hold it down on her high chair so she doesn’t grab and throw it.

Paint2Paint3

Then let them have at it!  Millie loved to push her little fingers on the paints- then she took to banging away.  She moved and squished the colors around until she had made a beautiful piece of art.


We had a fun time doing this sensory activity.  It was cheap, easy, and best of all MESS free! Have you tried this or something similar with your baby? Tell me down below in the comments!